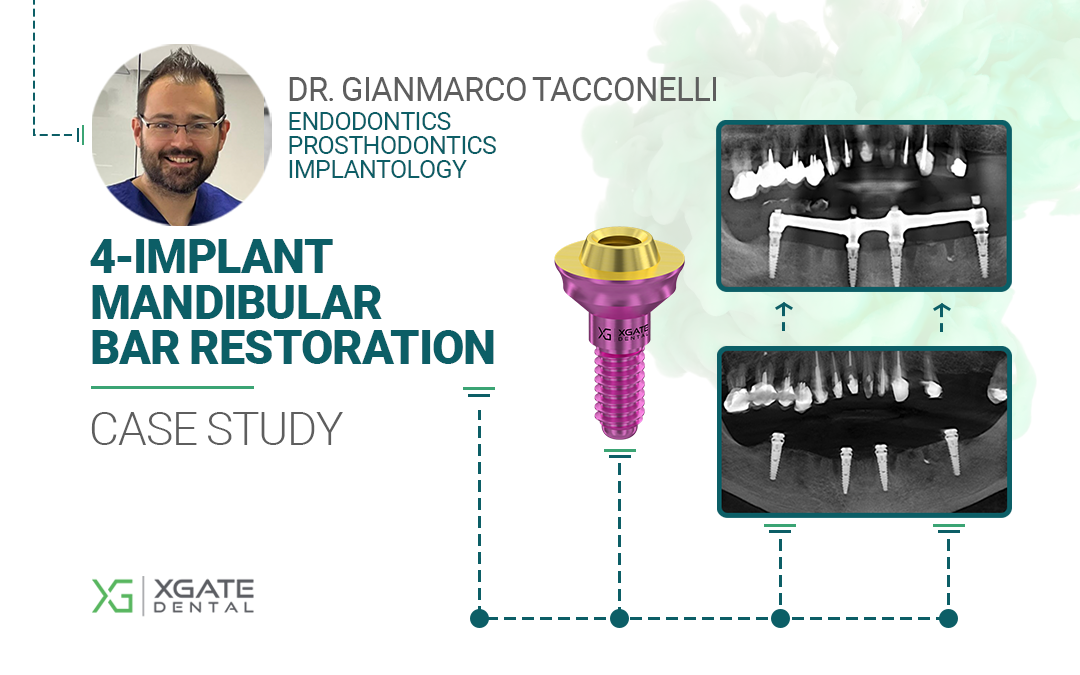
Mandibular Rehabilitation with a Bar-Supported Prosthesis on 4 Implants Using XGATE Products

Oct 14, 2025 | Cases

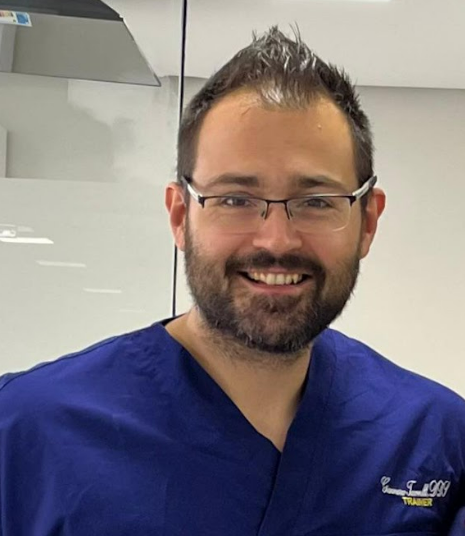
A portrait photo of Dr. Gianmarco Tacconelli, a specialist in implantology and maxillary rehabilitation.

This clinical case was provided by Dr. Gianmarco Tacconelli from Pescara, Italy.

With over 11 years of clinical experience, Dr. Tacconelli specializes in implantology and maxillary rehabilitation, with advanced expertise in zygomatic and pterygoid implants, as well as bone grafting procedures in cases of severe atrophy.

Main areas of expertise: Endodontics, Prosthetics, Implantology.

Patient

A 72-year-old, non-smoking male presented to the clinic with complex dental issues in both the maxilla and mandible, as seen in the initial photographs and CBCT scan.

A panoramic X-ray showing the initial complex dental condition of a 72-year-old male patient, with multiple failing teeth in both jaws.
Two intraoral photos showing the challenging preoperative condition of the patient's mandible, with failing teeth and a removable partial denture.
The condition of the mandible was particularly complex. The patient was wearing a removable partial acrylic prosthesis and was dissatisfied with his masticatory function. Additionally, he exhibited inflammation around the remaining natural teeth.

The remaining teeth were deemed non-restorable and required extraction.

Diagnosis and Treatment Planning

The 3D CBCT scan revealed previous endodontic treatments and chronic inflammatory periapical lesions associated with the remaining teeth.

A series of CBCT scan images used for analyzing the residual bone volume in the mandible for implant placement planning.

The analysis of the residual bone volume in the posterior regions showed a sufficient amount of bone in both the bucco-lingual and apico-coronal dimensions to allow for dental implant placement.

In the anterior region (interforaminal area), the alveolar ridge was too narrow for implant insertion without bone modification. However, the basal bone provided adequate volume to anchor and stabilize the implants.

After careful analysis and risk assessment, a treatment plan based on the Full-Arch protocol was formulated:

  • Extraction of the remaining teeth.
    Osteoplasty to reduce the alveolar crest would be performed prior to implant placement.

Selected implants XGATE Dental X3 Internal Hex:

  • Anterior region: Ø3.3 × 13 mm
  • Posterior regions: Ø3.75 × 13 mm
x3-dental-implant-internal-hex

As the Full-arch protocol involves immediate loading, the surgical site preparation and implant placement technique needed to achieve a minimum insertion torque of 35 Ncm.

Treatment Summary

The first stage of the operation included:

  • Extraction of the remaining teeth.
  • Debridement of the extraction sockets.
  • Alveolar crest reduction.

The photo below shows the surgical site after the osteoplasty. Following this, the osteotomies were prepared, and the implants were placed.

A clinical photo of the mandibular surgical site after extractions and alveolar crest reduction (osteoplasty) have been performed.

The implants were placed successfully, and four straight V-type multi-unit abutments (XGate Dental) with a 1 mm collar height were immediately seated. The implants were placed with an insertion torque of 45-50 Ncm, indicating excellent primary stability while remaining within safe clinical limits.

A product image of the V-type straight multi-unit abutment from XGate Dental with a 1 mm collar height.
1mm Straight MUA
V-type 5201.1001
A clinical photo showing four straight V-type multi-unit abutments immediately seated on the newly placed dental implants in the mandible.
A post-operative panoramic X-ray showing the final position of the four dental implants placed in the mandible for a full-arch restoration.

The prosthetic plan involved a screw-retained prosthesis supported by a cast cobalt-chrome bar (Toronto Bridge style) to ensure optimal load distribution on the implants.

During the impression phase, a difficulty arose. The clinician initially attempted to take the impression using the temporary abutments, which can sometimes also serve as impression transfers. However, these abutments were too short to remain adhered to the impression material, resulting in an unstable and inaccurate impression.

Consequently, it was decided to fabricate a custom resin tray to capture a precise impression, splinting the abutments together to ensure maximum accuracy during the impression procedure. This technique allowed for an accurate impression for the fabrication of the prosthesis.

An intraoral photo showing the impression phase with a custom tray and splinted impression copings to ensure an accurate model.
A photo of the final, accurate impression of the mandibular implants and soft tissue, which will be used to fabricate the prosthesis.
Intermediate photo 8 hours post-surgery.
A clinical photo of the patient's mandible showing the sutured surgical site and initial healing 8 hours after the operation.
Condition of the gum after suture removal, with the previously placed healing abutments.
Four dental implants in the lower jaw with completely healed gums before the final teeth are placed.
Soft tissues are completely healed and the healing abutments have been removed. The patient is ready for the prosthetics.
Intraoral view of four multi-unit abutments on a healed mandibular arch, prepared for a final impression.
A bar was fabricated using this impression, but on the first attempt, as confirmed by radiographic control, it did not fit properly because the impression proved to be insufficiently accurate. The bar did not fit correctly on the first try and had to be remade, as the initial impression was not precise enough.
A panoramic radiograph showing the initial milled titanium bar which did not fit properly on the implants due to an inaccurate first impression.
It was decided to take a new impression 48 hours after the surgery, this time using dental stone, with standard-type transfers and a standard plastic tray perforated at the locations of the transfers.
A clinical photo showing standard-type impression transfers placed on the multi-unit abutments for a new, more accurate plaster impression.
A photo of the new, highly accurate plaster impression taken 48 hours post-operation to correct the fit of the prosthetic bar.
The new bar, fabricated from the corrected model, demonstrated a perfect fit.
A panoramic X-ray showing the new, corrected titanium bar seated on the implants with a perfect, passive fit.
Subsequently, the definitive prosthesis was fabricated and delivered to the patient.
An intraoral photo showing the healthy, healed soft tissues of the mandible before the final prosthesis is delivered.
A view of the inner surface of the final bar-supported prosthesis, showing the attachments that connect to the multi-unit abutments.

Occlusion control passed successfully.

A clinical photo showing the use of articulating paper to check and adjust the bite (occlusion) on the final mandibular prosthesis.
The healing process was monitored and progressed without complications. Four months after the surgery, the prosthesis was removed for a follow-up check. The prosthesis was found to be clean, with no accumulation of soft plaque.

During this healing period, the underlying soft tissues remodeled as expected. To ensure a precise and comfortable fit to the new tissue contours, the prosthesis required a reline.

This was accomplished using an indirect relining technique:

  1. An accurate impression of the soft tissue surface was taken using a low-viscosity (light-body) impression material.
  2. In the laboratory, the internal surface of the prosthesis was adjusted based on this new impression.
  3. A few hours later, the patient received the relined prosthesis, which now fit perfectly to the healed tissues.
A clinical photo demonstrating the indirect reline technique using a light-body impression material to capture the healed gum contours.
A photo showing the underside of the prosthesis filled with blue impression material, creating a new model of the healed soft tissues for the reline.
The inner surface of the mandibular prosthesis after the laboratory reline procedure, now perfectly adapted to the healed gum contours.

Before proceeding with the maxillary rehabilitation, the clinician verified the health and stability of the soft tissues surrounding the mandibular implants.

The final mandibular prosthesis seated in the patient's mouth, showing excellent esthetics and fit after the reline procedure.

XGate Products Featured in Case

The treatment plan required four XGate Dental X3 Internal Hex implants (Ø3.3 mm and Ø3.75 mm), four straight V-type multi-unit abutments with 1 mm collar height, and prosthetic components including temporary sleeves, impression transfers, and castable sleeves for the milled titanium bar fabrication.

Download Resources

Get the complete case study and explore our product catalog

Case Study • PDF • 1.3 MB

📥 Download Case Study

Product Catalog • Online

🔍 View Product Catalog

We hope you found this clinical case interesting. If you have any questions about the characteristics and delivery of XGate Dental products, please contact us in any convenient way.

E-mail: [email protected]
350 W Passaic
St Rochelle Park, NJ 07662
United States

XGate Dental Group GmbH
Falkensteiner Straße 77, 60322
Frankfurt am Main
Germany

Follow us to stay updated: Instagram | Facebook | YouTube

Disclaimer: Any medical or scientific information provided in connection with the content presented here makes no claim to completeness and the topicality, accuracy and balance of such information provided is not guaranteed. The information provided by XGATE Dental Group GmbH does not constitute medical advice or recommendation and is in no way a substitute for professional advice from a physician, dentist or other healthcare professional and must not be used as a basis for diagnosis or for selecting, starting, changing or stopping medical treatment.

Physicians, dentists and other healthcare professionals are solely responsible for the individual medical assessment of each case and for their medical decisions, selection and application of diagnostic methods, medical protocols, treatments and products.

XGATE Dental Group GmbH does not accept any liability for any inconvenience or damage resulting from the use of the content and information presented here. Products or treatments shown may not be available in all countries and different information may apply in different countries. For country-specific information please refer to our customer service or a distributor or partner of XGATE Dental Group GmbH in your region.
Close Popup

We use cookies to give you the best online experience. By agreeing you accept the use of cookies in accordance with our cookie policy.

Close Popup
Privacy Settings saved!
Privacy Settings

When you visit any web site, it may store or retrieve information on your browser, mostly in the form of cookies. Control your personal Cookie Services here.

These cookies are necessary for the website to function and cannot be switched off in our systems.

Technical Cookies
In order to use this website we use the following technically required cookies
  • wordpress_test_cookie
  • wordpress_logged_in_
  • wordpress_sec

Cloudflare
For perfomance reasons we use Cloudflare as a CDN network. This saves a cookie "__cfduid" to apply security settings on a per-client basis. This cookie is strictly necessary for Cloudflare's security features and cannot be turned off.
  • __cfduid

Google Recaptcha
This cookie is set by the Google recaptcha service to identify bots to protect the website against malicious spam attacks.
  • _GRECAPTCHA

GDPR services
  • wordpress_gdpr_allowed_services
  • wordpress_gdpr_cookies_declined
  • wordpress_gdpr_allowed_services

WPML WordPress
This cookie is stored by WPML WordPress plugin. The purpose of the cookie is to store the redirected language.
  • _icl_visitor_lang_js

Decline all Services
Save
Accept all Services